I’ve always wanted to build a radio and luckily Santa brought me three radio kits last month. So, the day after Christmas, I enlisted my dad and my daughter to help make a few. For my first project, my dad and I constructed a crystal radio using a kit made by Go Lab/Tree of Knowledge and distributed by Elenco.
Designed for ages 8 and up, the Elenco Crystal Radiokit’s box (the packaging looks slightly different from the one that I link to here, but the components look the same) warned, “This product is intended for use by adults and children who have attained sufficient maturity to read and heed directions and warnings attached or enclosed.”
Since this one looked more complicated than some of the others, my dad and I embarked on this project while my 8-year-old daughter was off playing at the park. My dad is an engineer and built radios in his youth (and also attempted to build a crystal radio a few years back–more on that in another post), so I was appreciative of his technical know-how.
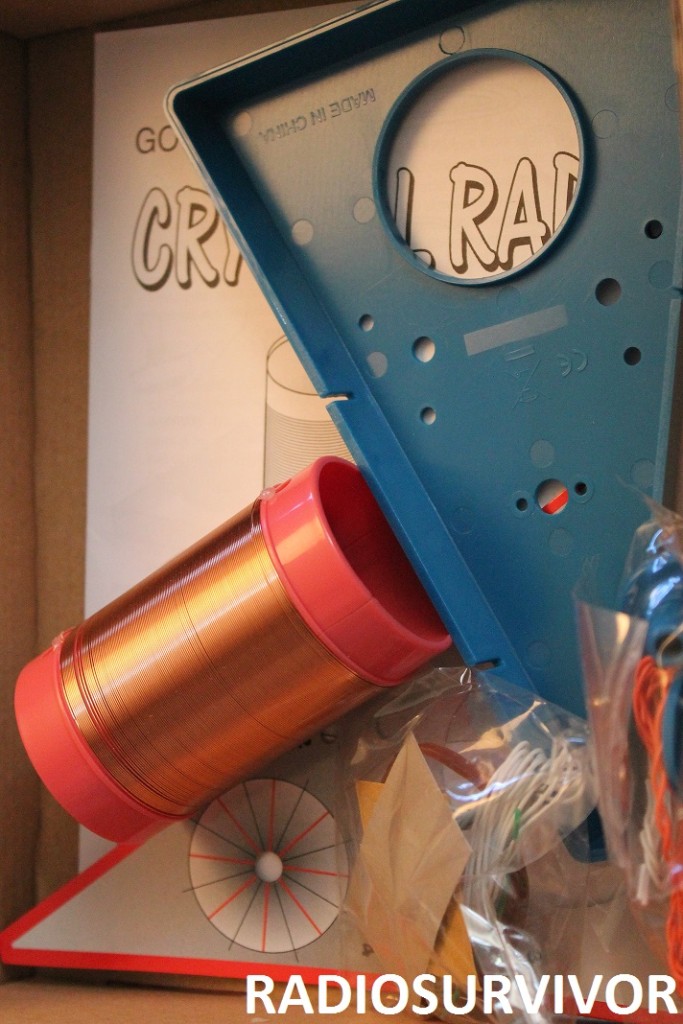
As we examined the parts included in the Crystal Radio kit, my dad was thrilled to see that it included a pre-wound coil of copper wire. That was part of the reason why we attempted this kit first, as another kit that I have requires one to wind the wire. After taking a look at all the pieces, we got underway with building the radio.
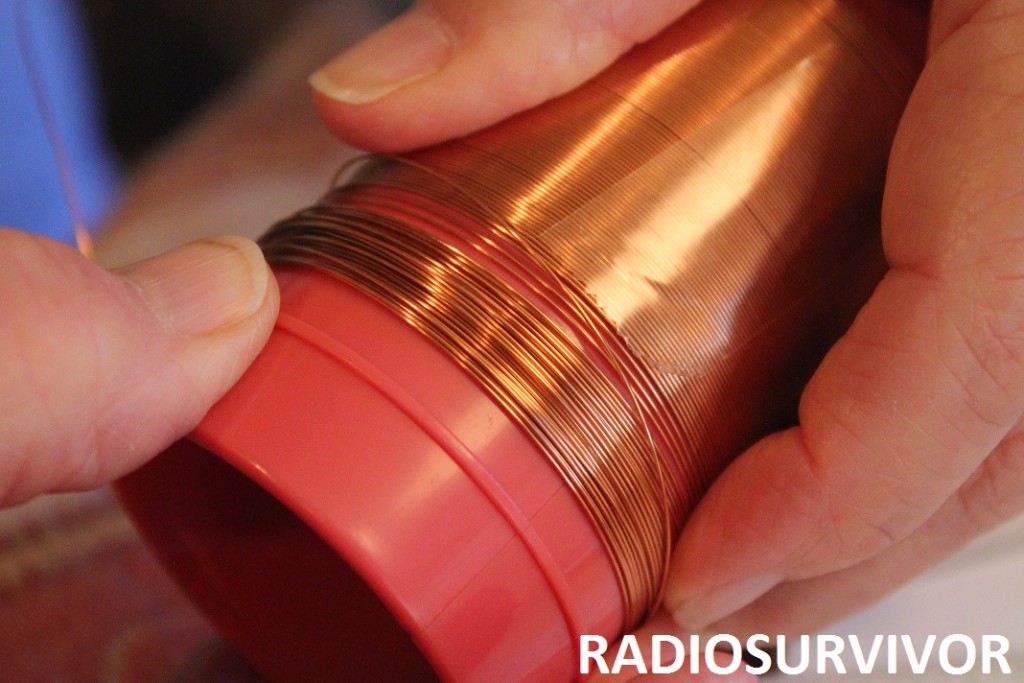
Our first step was to release about 6 inches of wire from the pre-wound coil. Probably 4 inches of wire was already released on each side, but we assumed that we needed to release more (in retrospect, I wonder if that was actually the case). To do this, I had to remove some tape holding the wire in place. As soon as I removed the tape, wire started to rapidly uncoil from the tube. In a panic, I put my hand on the wire so that the entire spool wouldn’t uncoil. This was the first instance of us realizing that the instructions could use a few extra tips and tricks.
After rewinding the wire that needed to be back on the spool (which we never got as perfectly wound as it was out of the box), we decided to affix some tape to it so that it wouldn’t unspool again. Then, after a few more steps, we attached the coil to a plastic triangular base. It was a bit hard to get into place, so my dad suggested that we rub wax on the plastic parts and that helped considerably).
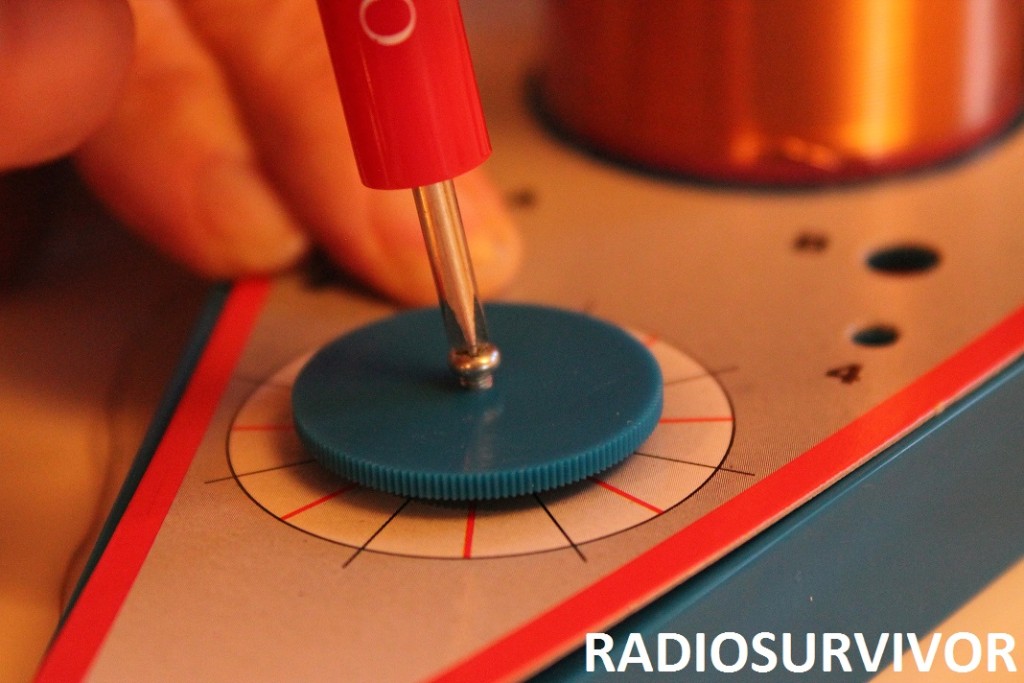
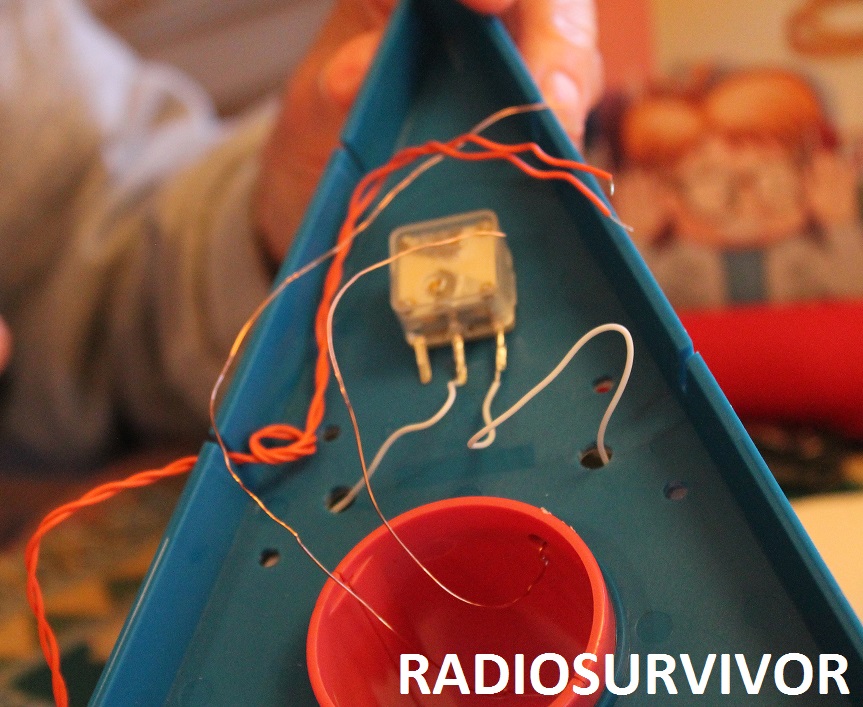
We then attached a variable capacitor on the bottom of the base, using screws to secure it in place. Following that we attached a triangular cardboard card, as well as a dial for our radio.
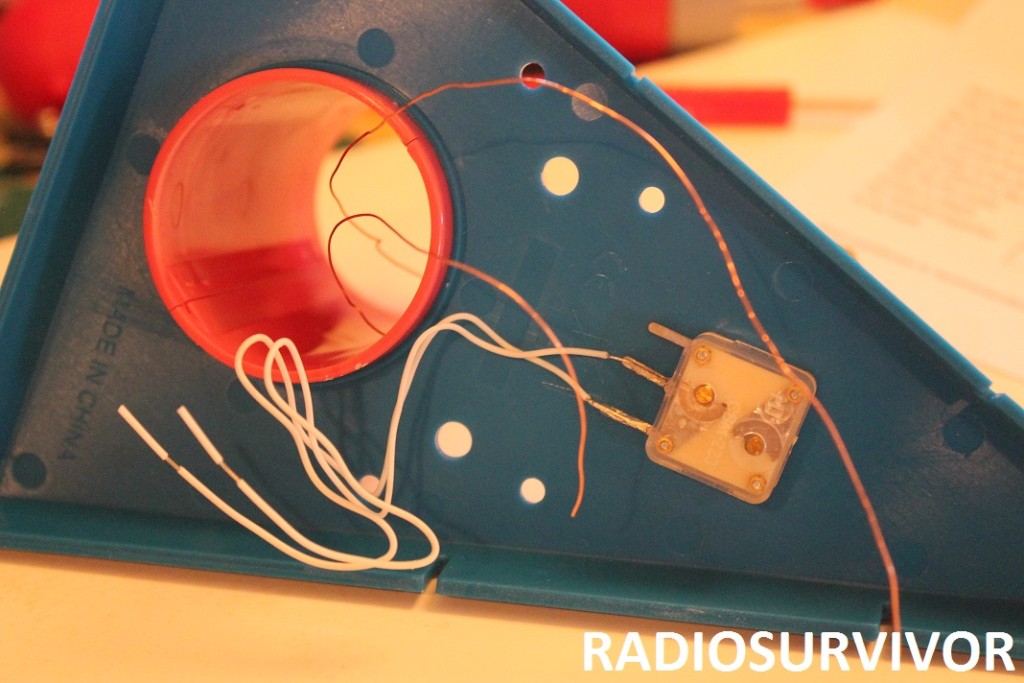
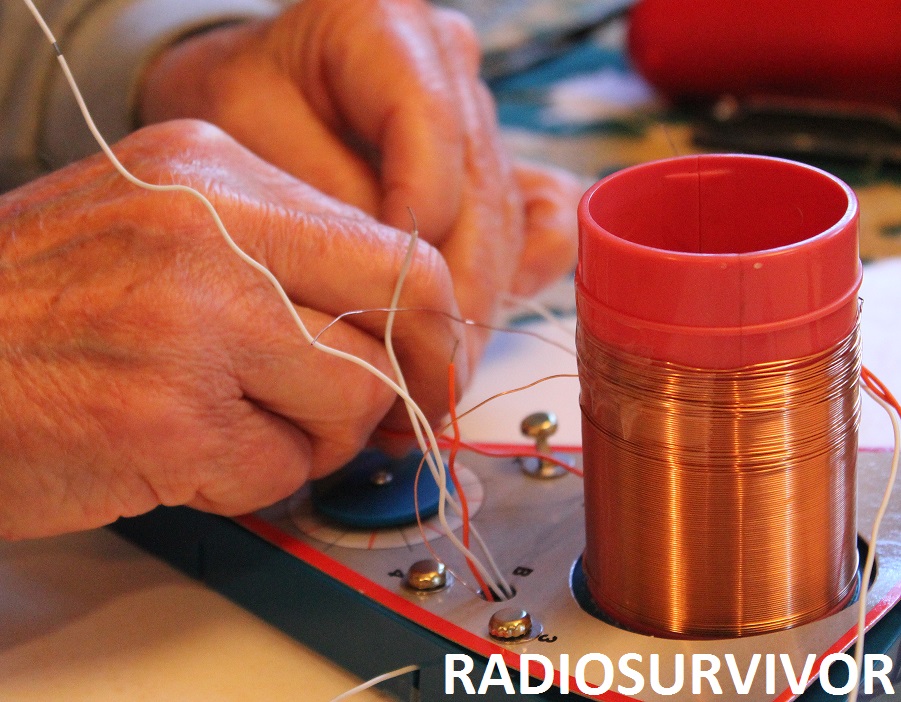
We had to then push the capacitor wires through various holes and then attach the earphone wire. Then things got tricky. We had to attach and thread through specified holes various wires for an an included diode, the antenna and for an earth wire, while also threading coil wires through different holes. Although we were given step by step instructions so that we could make the proper connections, confusion ensued because there were multiple numbering systems. It was also challenging because many of the wires were white, so it was hard to keep track of the purposes for each wire. If I were to do this again, I’d probably use different colored permanent markers to label the different wires.
Steps were numbered 1, 2, 3, 4 and on the radio base there were holes that were numbered 1, 2, 3, and 4. We assumed that the steps corresponded to the same order as the holes, but after building a few connections, we realized that they did not.
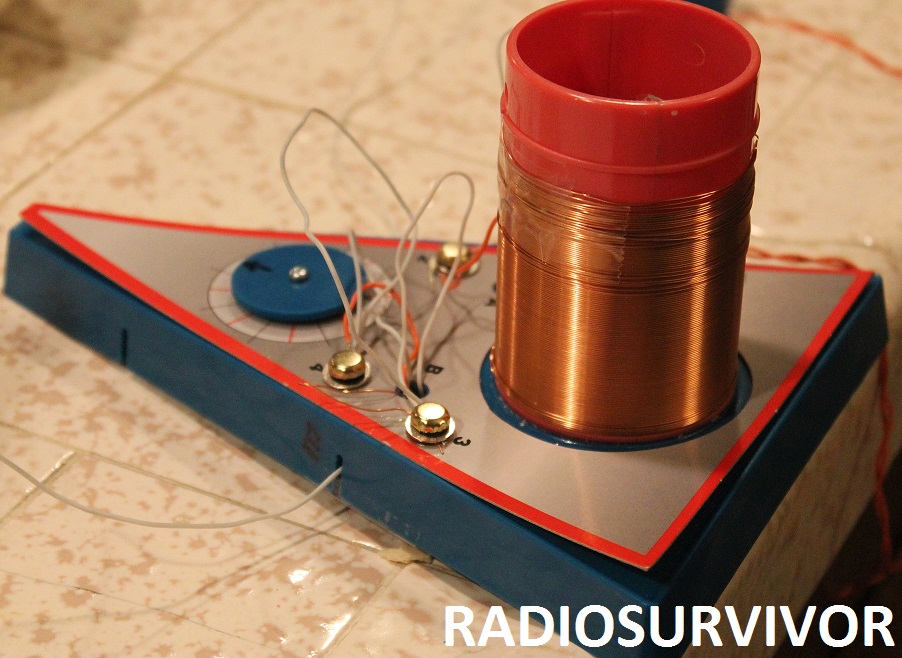
Additionally, after making various connections (with the earphone wire, the diode, the coil wire, antenna wires, capacitor wire, and the earth wires), some holes had multiple wires threaded through (between 2 and 4 total), making it hard to discern which wire was for which purpose. To make the connections, we attached brass paper fasteners to washers, as you can sort of see in the picture below. Additionally, some of the wires were not stripped enough on the ends to make proper connections, so my dad used his wire stripper to remove some of the coating on the wire.
After we realized that we had threaded some wires into the wrong openings, we redid some of our work. Finally, we were done making the crystal radio and we were eager to try it out.
Per the instructions, we took our radio to a metallic, cold water tap. We held the earth wire to the metal tap while holding the antenna wire into the air. With great anticipation, I put the earphone to my ear and listened intently. I turned the dial, hoping to hear a signal, but got silence.
After several hours of work, we were proud to have completed all the steps, but were disappointed to not hear anything on the radio. It’s possible that we messed up the wire connections or are having issues because our copper coil overlapped in parts. It also may be the case that we weren’t close enough to an AM radio transmitter in order to pick up a signal. I didn’t even hear static, so I’m not entirely sure. The included booklet doesn’t provide much in the way of troubleshooting tips, but it does give some suggestions on how to improve reception using different antennas (aerials) and grounds. It also gives a nice overview of how radios work.
In any event, it was a fun process making this radio and I’m still hopeful that I will be able to eventually build a radio that can pick up a signal. Note: this kit was recommended for ages 8 and up. Due to the insufficient directions, I wouldn’t advise giving this kit to young kids.
After making the crystal radio, I moved on to an easier kit, which I will write about in another post.

